Showing posts with label DIY. Show all posts

Wednesday, January 4, 2012

Adventures with Acrylics!

HEEEEEY!!! 
Claire here!
When I went to visit Berit in California a few weeks ago, 
we bought each other manicures for Christmas.
I decided to be a little crazy and get a full set of acrylics.  
Here is what they looked like:

The color was C-c-c-courage by China Glaze
It lasted SUPER well and looked magical!
However, as you can see, my natural nails started growing and showing.
I just got a black Sally Hansen nail art pen and was dying to do a french tip.
These pens are GREAT.  They are easy to use, fast drying, and very precise.
(Just make sure you use a base and topcoat, or the paint won't adhere properly)

I used Essie's Steel-ing the Scene for the base color.
 Here's how my nails look now!


I would totally recommend trying out acrylic nails at some point,
they are so much fun and have stayed on despite taking a serious beating.

Stay lovely!
<3
Claire

Monday, October 10, 2011

Blogs You Should Follow: Studs & Pearls

I thought it would be a great idea to begin a new little post topic of blogs our readers should check out. My first recommendation is Studs & Pearls.

As a lover of all things DIY, Kirsten at Studs & Pearls blows my freaking mind because her blog is purely DIY. Her vast creativity and ability to craft DIY tutorials accessible and do-able by every skill level is something I've always admired.

Here's a few of my favorite projects she's done:

(DIY Burberry studded trench)
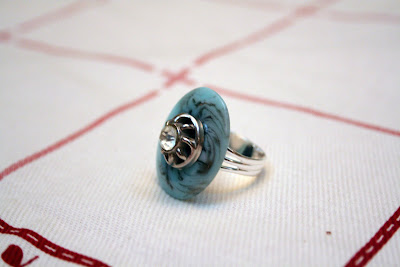
(DIY statement rings from random found objects)
(DIY lanyard weave cuffs)

Check it out and bask in the cleverness!!

Love,

B

Wednesday, July 27, 2011

DIY Business Cards!

Hey everybody! I've got a bunch of exciting things happening with my Etsy shop right now... including a bunch of new items!

I'll also be selling some of my rings in a local art commission shop, so I decided to make some home-made business cards. Here's what my first one looked like- I'll be tweaking it a bit as I go:

I used some "vintage" Old Maid cards found while cleaning out my room. They've got a bit of nostalgic value, as I remember playing them with my grandmother as a child :)

I started by tracing the card on the paper you see them laying on and gluing it to the back of the card.

After hole-punching through the card and the new backing, I looped through a ribbon that I can also use to fasten a ring to the card.


On the back I glued on another layer of vintage notecard, and ruined it with my horrible first-grader handwriting. Oh well! As my mother pointed out, my generation is made of typists rather than writers... kind of sad :(

There you have it! A cheap and creative way to make business/personal cards. Just make sure you've got ample time, as it can be a little tedious.

Hope your week is amazing!!

-B

Wednesday, July 6, 2011

On Trend: Graduated Sparkle Nails

Hey y'all! Hope everyone had a fun, relaxing and moderately redneck 4th of July! Here's a trend that's caught my attention lately... Graduated/Ombre sparkle nails!

As with most things in life, this style can look either really cool or really tacky. Emily on Cupcakes & Cashmere wrote a great, fool-proof tutorial with the ever-hip technique of glitzing up only her ring fingers:

And here's my poorly-photographed version, with coral and gold. If you know me, you know I love nail polish, and this was a super easy way to spice (or sparkle, lulz) things up a bit! I accidentally went a little too heavy with the sparkles, but what can I say, I'm drawn to shiny like a crow.

A random photo off the interwebs, but the topcoat only with the sparkles looks great, too!


All it takes is a normal manicure and a bottle of sparkles (from the craft store or your local beauty supply, just make sure they're pretty small.) I always start off with base coat (it'll protect your nails from the undeniably yucky chemicals in the polish.), add the color, and then apply a topcoat. Add another small bit of topcoat to the tip of the nail and use a small paint brush to apply the sparkles- you can either sprinkle them on or brush them on for a more controlled graduated look.

Enjoy!

-B

Wednesday, June 1, 2011

Berit's Etsy Shop Now Open!

So, guys, I know I've been inexcusably MIA lately... but I haven't been doing nothing!

I'm very, very excited to announce that I've opened my own shop on Etsy! I've wanted to for a long time now, and this break in school has allowed me to spend some time crafting.

Please take a look around, tell your friends, and please let me know what you think! Click on any image to view it in the shop.


I've been a long time advocate for Etsy and the support of grassroots artists through it, so it's exciting and a little scary to have finally taken the plunge!

Love,

B

Sunday, March 6, 2011

DIY: HonestlyWFT Hex Nut Wrist Wrap

One of my favorite blogs as of late has been HonestlyWTF. They have great DIY tutorials, among them being a version of Philip Crangi's hex nut bracelets. Although I couldn't find any hex nuts as thin as the ones used in the tutorial, the chunkier ones came out looking even more tough- great for layering with other bracelets!

The great part about wrap bracelets is that they double as necklaces too!

Naturally, I experimented with other techniques:

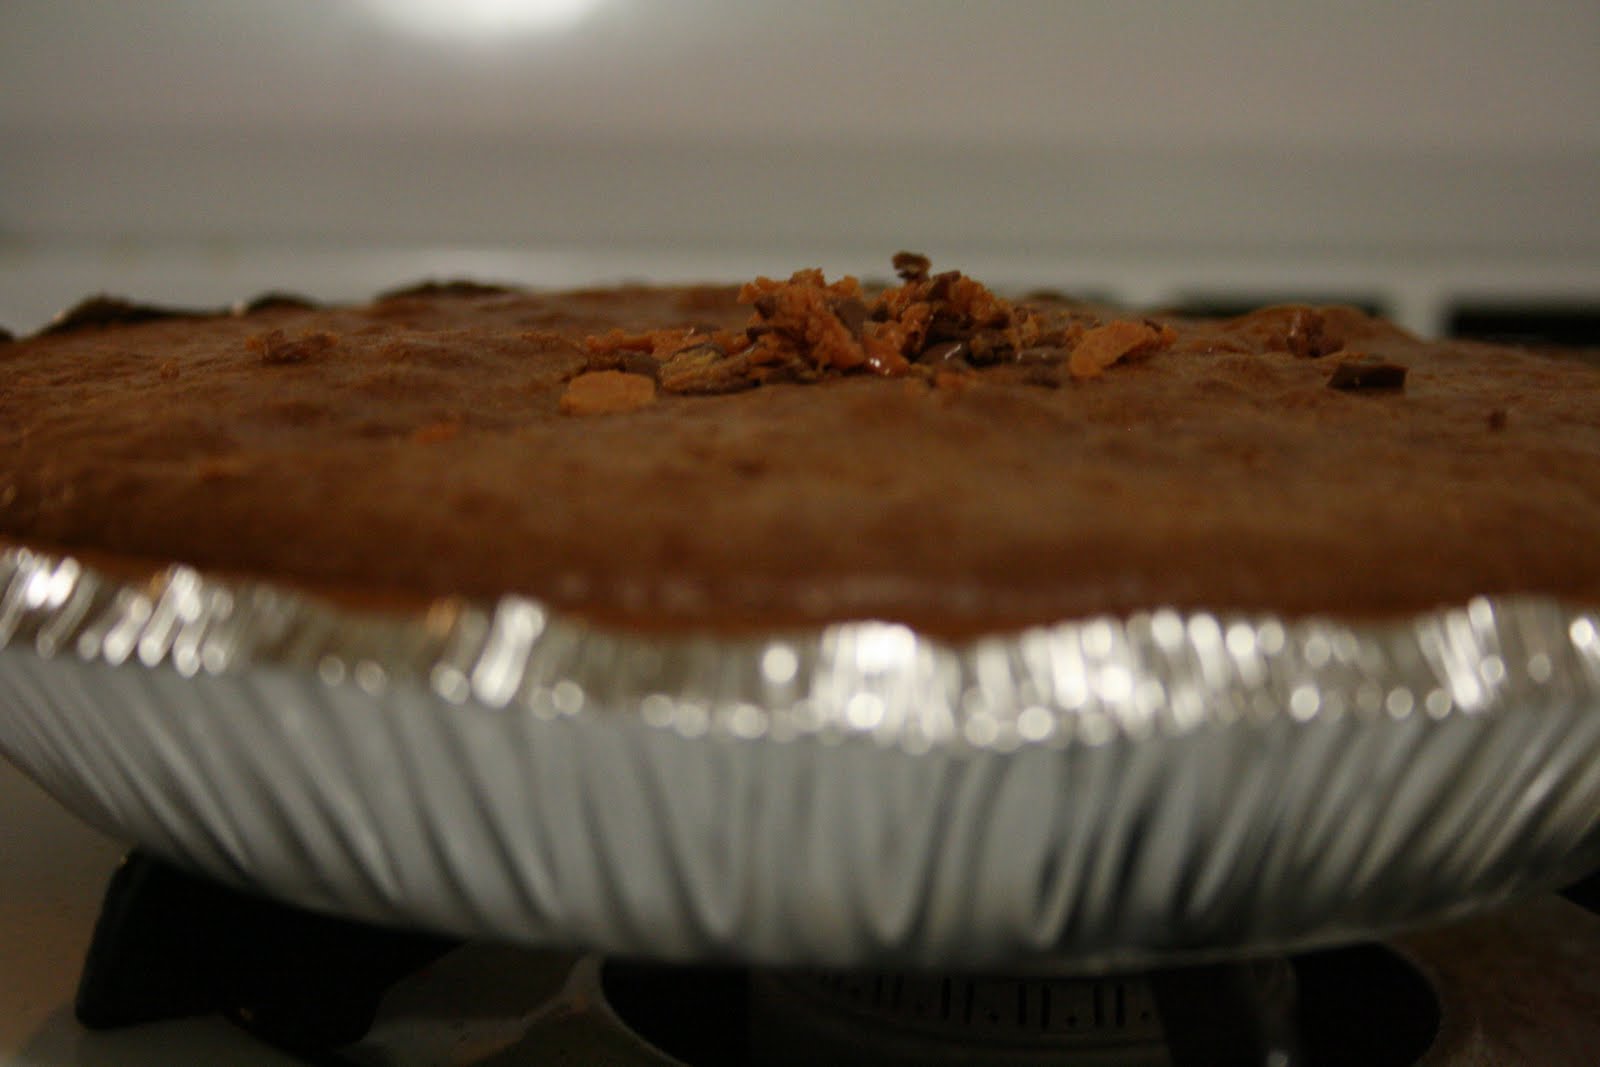
OH, and we made cookie pie, including crushed Peanut Butter Cups and Butterfingers. Oh, yes.


What did you guys do this weekend? :)

-B


Wednesday, February 23, 2011

Choose Happiness

2) The Wisdom of Kevin Gnapoor
3) Karl Lagerfeld steepin' in your tea. Via Donkey.
4) THESE SHOES ZOMG ZOMG ZOMG
5) Javier Bardem:
No Country for Old Men,
Penelope Cruz's baby daddy,
spanish accent.
6) The magnificent fact that the sun rises every morning,
bringing light back into the world once again
7) Fancy dinners with a handsome blonde boy.

What's been awesome about YOUR week?

-B & C

Sunday, January 23, 2011

DIY: Turban-Style Headband

Turban-style headbands or headwraps are in the limelight right now in the fashion world, and I think they're AWESOME. They can add a chicness to anything... or be used to cover up hair that needs to be washed (I can attest to the latter)!

From right to left: Milly, Issa, Vena Cava S/S 2011

Turban-style headwraps can literally be worn on any type or length of hair- worn over the crown, under the hair like a traditional headband, with a low-slung bun, the list goes on... so let me show you how to make one of your own for under 5 bucks!

1) Start with two lengths of fabric that when doubled over will read from the center of the crown of your head to the nape of your neck.

2) If you're working with a fabric that has
raw edges (polyester/spandex blends are great because you don't need to give them hems), double the width of these pieces of fabrics so that you can run a seam down the raw edge and turn them inside-out. I made mine about 5-6 inches wide so that when I sewed them into "tubes" they'd be about 2.5 inches wide.


3) After you've finished with your two "tubes," iron them with the seam in the very center. This way, it will always be against your head and not facing out when you wear your headband.


4) Lay the two pieces of fabric criss-crossed over one another with the seams facing up.


5) Fold them over one another and pull, this will be the general look of your headband with the "knot" in the center. Next time I'm going to taper the ends of the fabrics down so that the fabric at the base of my head will be thinner and more comfortable.


6) This next part can be done any way you wish, really. I used two pieces of elastic because my headwrap is pretty wide. Just make sure you take the stretchiness of the elastic into account so that your headwrap will both stay on your head but not be too constricting.


7) Ta-da! I look kind of stoned but I promise it was just the flash ;)

Here's a closer look at the knot.


This whole project took about 40 minutes. The fabric cost about $1.95 for 1/4 of a yard (I still have fabric left over) and the elastic was about $2 for a few feet of it. Totally affordable, and if I can use a sewing machine so can you!

Any questions my loves?! Please share your comments, critiques, and of course creations of your own!

-B

Tuesday, August 24, 2010

DIY: Magnetic Scrabble Letters!

My mom loves scrabble letters. She's picked them up at thrift stores over the past year and has a set sitting on a bowl near the front door and arranges them into cute phrases, like this:

(Waiting for me after I came home from my first year of college)

There being about four sets of scrabble letters in my house, mom gave me some to take with to school to put on the coffee table. I decided that they would get more use as magnets, on our fridge!

All it took was a pair of scissors and a trip to the hardware store to buy a few feet of magnetic strips (with adhesive on one side, so no glue gun required!) for about $2.00.

Cut the pieces to about 3/4 of an inch, or whatever best suits the length of the Scrabble piece.

Secure the little magnets to the Scrabble pieces by removing the adhesive covering and pressing them firmly to the back of the Scrabble square.

-- And booyah! Cute magnetic Scrabble pieces for your fridge, white board, or what have you.

The total budget for this project is somewhere around $5.00 :)

-B


Friday, August 20, 2010

Fun With Interior Decorating YEE (And the Magical Qualities of Spray Paint)

This year I'll be living "on campus" in an apartment with two wonderful roomies! However, even in my dorm last year having my own space was mildly exciting, but never really motivated me to get creative in decorating my space.

But now... the thought of having a living room, kitchen, AND bedroom to decorate is rather thrilling! My mom found these sweet little plastic dragonflies at Goodwill the other week:


Apparently they're some swanky brand, but I wasn't very excited that they were silver- not really my thing. However, my mother reminded me that all it takes is a can of spray paint to transform something...


One can of high-gloss spray paint from Home Depot turned them into chic little wall decorations! When I return to school I'll be scouring the thrift stores for more cool odds n' ends, armed with a can of paint! (Another good example can be found HERE, with candlesticks)

During my online interior decor perusing I came across the brand Kikkerland, which makes products commonly found on Modcloth or Fredflare. Here's a few of my favorites:

The best part about this brand is that it's not ridiculously overpriced, which is often what happens when a brand makes really cool, original designs... boo! Have fun decorating your new place, college-bound kids!

-B